Tutorial: Using Affinity to Develop Negatives
October 2, 2024
Tags: blog tutorial software affinity photography negatives
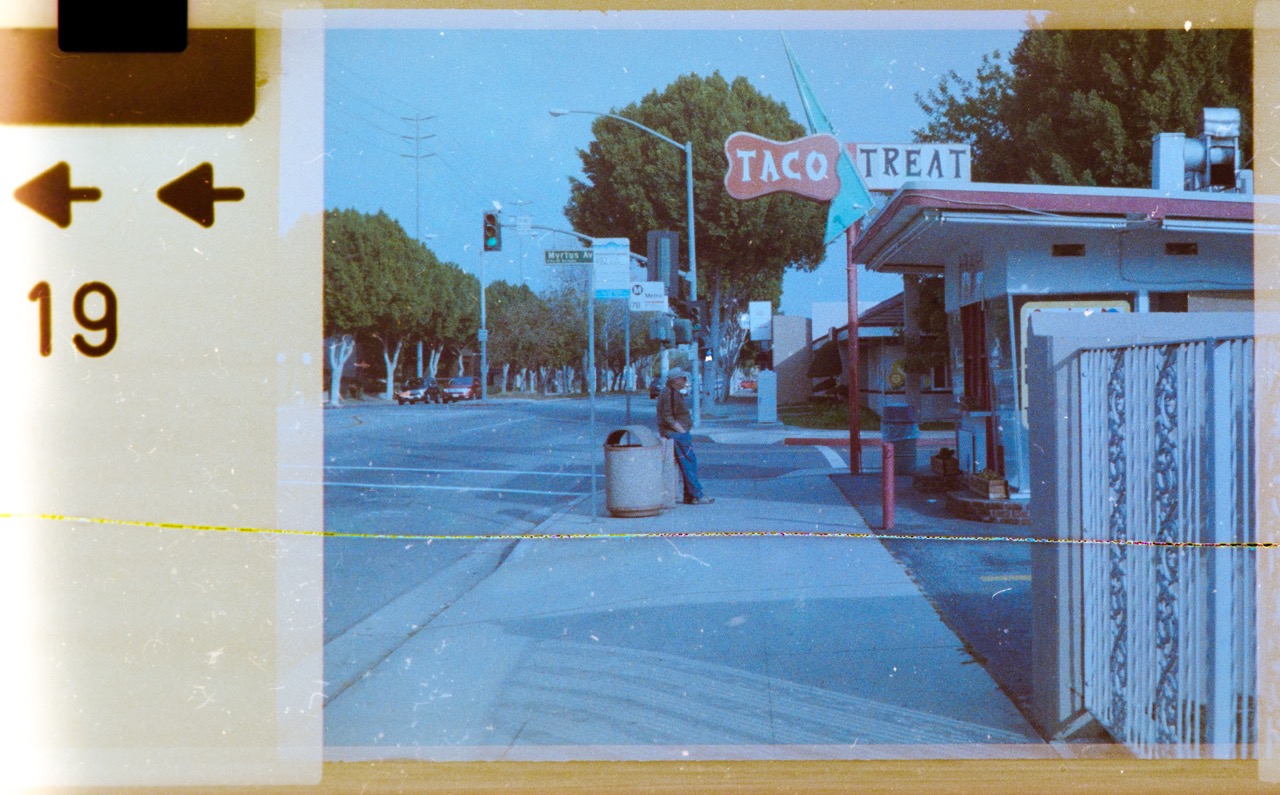
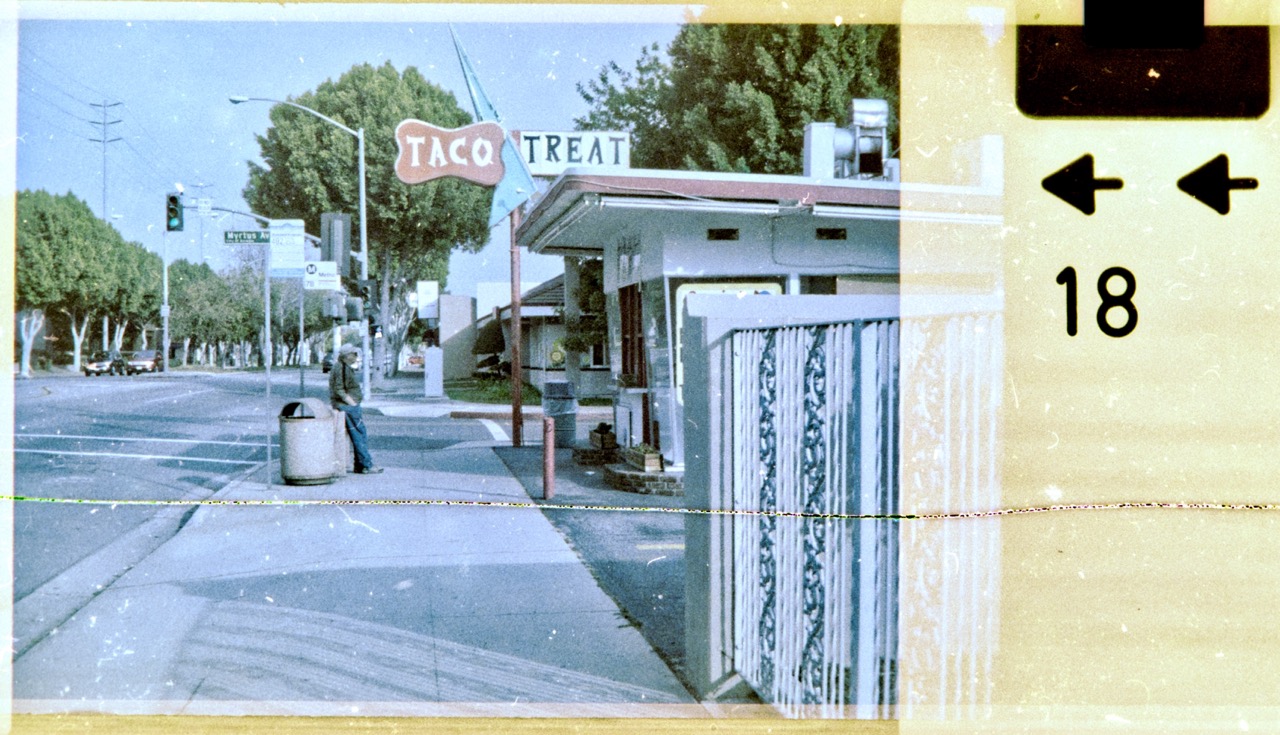
I was poking around my NAS the other day looking to see if some negatives I had archived had been scanned. Well I found those scans which was fine BUT I found something even more interesting, a roll of developed 110 film that I shot sometime between 2010 and 2014. I had not just developed it, but I also digitized it using my Canon 6D, which I sold some years ago to buy into the Fuji mirrorless family, which I still use to this day. I scanned the negs and … that was it I guess. I did edit and crop one photo, which I’ve used as a background for some years, and I maintain it could be one of my favorite candids of all time. Top 3 at least.
I don’t know the details about this crop and edit, but I’m assuming it was made with lightroom, which I used at the time. I would not be caught getting into the trap of perpetual software subscriptions so I decided to ditch Lightroom and move to Capture One for tethered shooting and processing, and the Affinity Suite of Photo and Designer. I really like Affinity, I think it works great, is fairly powerful and user friendly and a steal at the sale price of 25$ each. The way they’ve handled updates and version increases has been fair and as long as they keep their hands out of the generative AI pie, I can see myself being a user for some time.
All of this is to say that I’ve come up with a way to “develop” negatives into proper scans using Affinity, and it is not something I saw a lot of information on so I figured I’d write up a little tutorial.
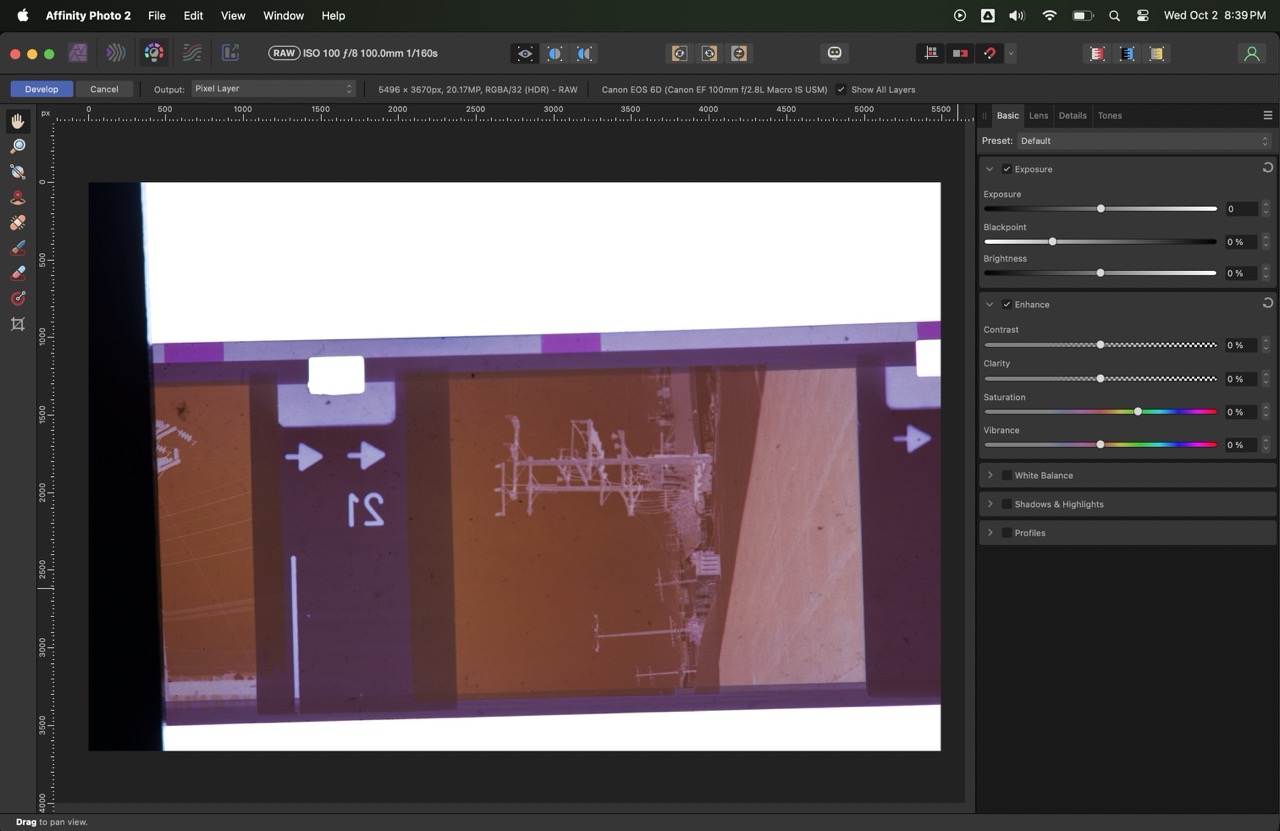
When you first drag a raw file into Affinity, you are greeted with a new layout with tools that are specific to working with RAW photos. The CR2 files from my Canon 6D were openend quickly. I should say that I tried to use RawTherapee but hated the way the raw files looked.
On to Affinity and came up with this method. I’ve setup my workspace maybe differently than most, but I see no need for waveforms or scopes or exif editors, etc. I trimmed this down to the basic needs of someone who is just looking to manipulate the visuals of the RAW file.
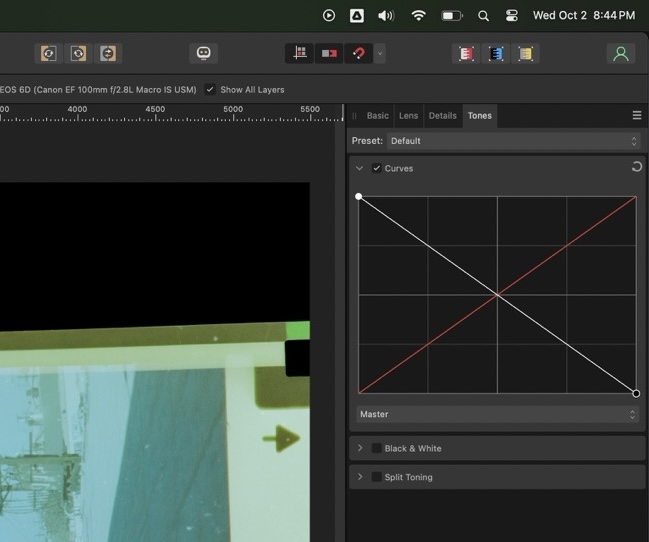
Since Affinity doesn’t offer a toggle to invert the image, you have to use the CURVES panel to do it for you. This can make the fine tuning a little confusing as everything ends up being reversed but after the first few sliders I got used to it. So grab the top right slider and drag it to the bottom right and the bottom left and drag it to the upper left. Yay! A positive negative… a positive positive? Whatever it is, I’m positive you’ll be love it.
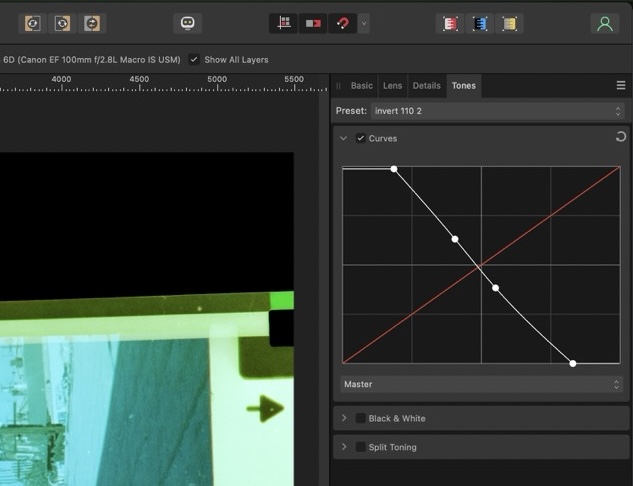
You can continue to fine it from there just like you would any other profile you’d be setting.
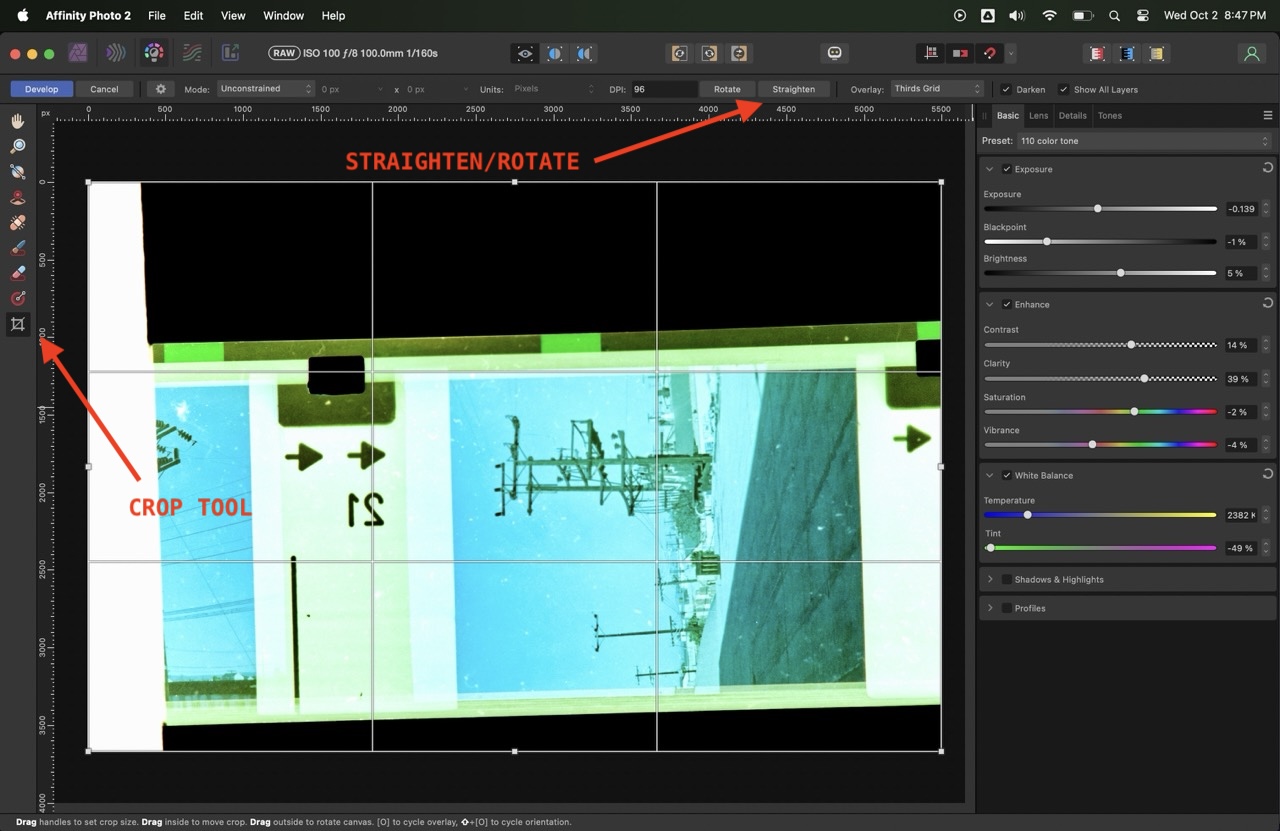
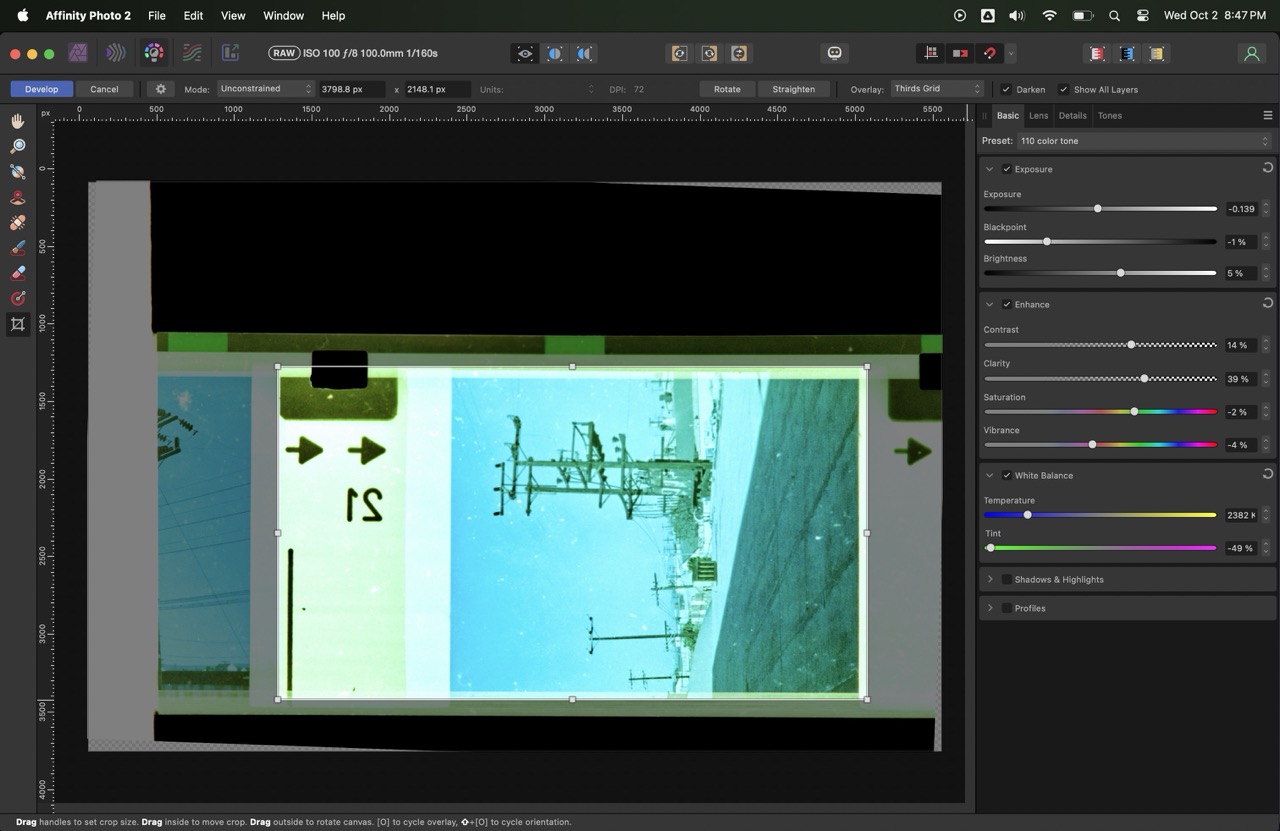
Once I got an image to a place I was happy, I saved this as a preset from the dropdown menu in the Tones tab. After this I used the BASIC tab to fine tune my adjustments. The crop tool is on the left-hand side and there is a straighten tool, that you can drag across a horizontal or vertical line to fix the skew. There are also tools here that let you adjust for lens abberations and distortion, which I didn’t go too far into here.
I don’t have a lot experience tuning my negatives. I know what I like out of photos, and I have profiles that I enjoy when shooting digital, but one thing about film that is great is seeing where the cards lie. So my personal technique here is to make it look good to me. I think a lot of photography (and most arts for that matter) comes down to personal taste. So learn what the sliders and knobs and menu options do, understand how they work together, and experiment!
I had looked at the “taco treat” photo for a long time but when I went in to edit, I ended up with a version that I actually like more. It feels more grounded in reality. But now looking back at the old version, I think they are both valid. It’s all a matter of taste.
